Sometimes I see something on Pinterest where I go, "man, I could make that!" This is one of those:
Actually, the caption I put on this particular pin really was, "I could so make this...." So, when I ran across a thrift store that had piles of brand new tee shirts in the same color, I snatched up three of those to make my own version! Plus, I thought I'd share another DIY with you guys, so you can have your very own little tee shirt dress. It's a super easy project, and without interruptions (ha!), it should only take around an hour to make!
You'll need:
3 matching tee shirts (men's are best, there's more fabric to work with, plus the jersey is a little thicker)
A length of 3/4" elastic long enough to fit your waist comfortably
A sewing machine, thread, pins (you know, sewin' stuff)
Like I said, you'll need three matching tee shirts, just make sure the one you're using for the top fits through the bust, since that area won't be altered all that much! Essentially, you'll be cutting these shirts along the orange lines in those pictures, but there's a little measuring to it as well:
Put your 'top' tee shirt on inside out, and wrap a tape measure comfortably around your natural waist. Put a pin in the shirt to mark where it hits, and another in the side of the shirt. Also, if you need to take in the sides at all to make the top more fitted, pinch the extra fabric in the armpit area, and put a pin there too. Now slide that shirt back off, and try not to stab yourself in the process!
Mark 1/2 inch below where the pin is, to allow for a seam allowance, and also mark on either side. Now, connect the lines straight across.
On to the arms. Since I got men's tee shirts, the arms were bigger than I would like. So I measured in a little bit (
little note: I ended up taking the arms in a little more than the picture shows, probably about 3" on each side), and connected the lines so they looked as pictured.
Now you can cut! Cut the bottom of the bodice along the line you drew, and save the rest of the shirt for a later project. Then, stitch along the "armpit line." Little tip, for the 90 degree bend in this line, just leave the needle down, raise your presser foot, and PIVOT! (yes, I am referencing the couch scene in Friends, and yes, it's hilarious.). Then finish stitching down to the cut edge, so you'll have a nice little 'V' sewn into each sleeve seam.

Now, you can cut the pieces for the skirt. I wanted to retain some length, and still save the bottom seam to keep from having to hem, so this is how I did it. After cutting both the remaining shirts, you'll have four pieces for the skirt. You'll only need three of these, so save that fourth piece for another project if you'd like. Then, pin your pieces right sides together (my little pin-ninjas are showing your where that is!), and sew. Basically, after you sew everything together, you'll have a 'tube,' or a skirt-shaped bit of fabric with three seams. Pick one of these seams, it'll be your back seam to the skirt.
Take your elastic, and connect the ends. Now slide it onto your skirt piece (make sure it's inside out!), and pin the sewn bit of the elastic to the back seam of the skirt.
This next bit's a little tricky, but I'll try to explain it. Basically, your elastic is smaller than your skirt, so you're going to have to gather the fabric as you go. So, match up the center front of the skirt (A) with the center front of the elastic (B), and pin those together. Then start sewing. You'll want to make sure that the skirt and elastic stay evenly together, then stretch the elastic as you sew so it lines up with the fabric. Sew all the way around the skirt that way.
You'll notice as you go that the elastic will contract when you let it go, gathering the fabric in the process. You'll have a skirt which should fit comfortably at your natural waist!
Your last step will be to attach your bodice to your skirt. So, line up the top edge of the skirt to the bottom edge of the top. Make sure that your right sides are together! Like the picture says, the top should be right side out and the bottom should be inside out. (I speak from experience! If you get this wrong, you'll get to be best friends with your seam ripper, and trust me, it takes longer to undo that seam than it is to sew it!) After it's sewn, turn the dress right side out and viola! it's done!
(Another note: I ended up shortening the hem of the dress about 4", it ended up a little frumpy for my taste! The great thing about this dress is it's easy to alter so that it fits just the way you want it.)
.JPG) |
| This was my attempt to 'effortlessly' recreate the pose from the original picture. Can I please just call attention to the awesomely confused look on my husband's face? |
Outfit Details:
Dress: DIY'ed from three thrifted shirts, $8.25
Necklace: JC Penney, $4 (clearance)
Velvet Belt: 'borrowed' from my mom's closet
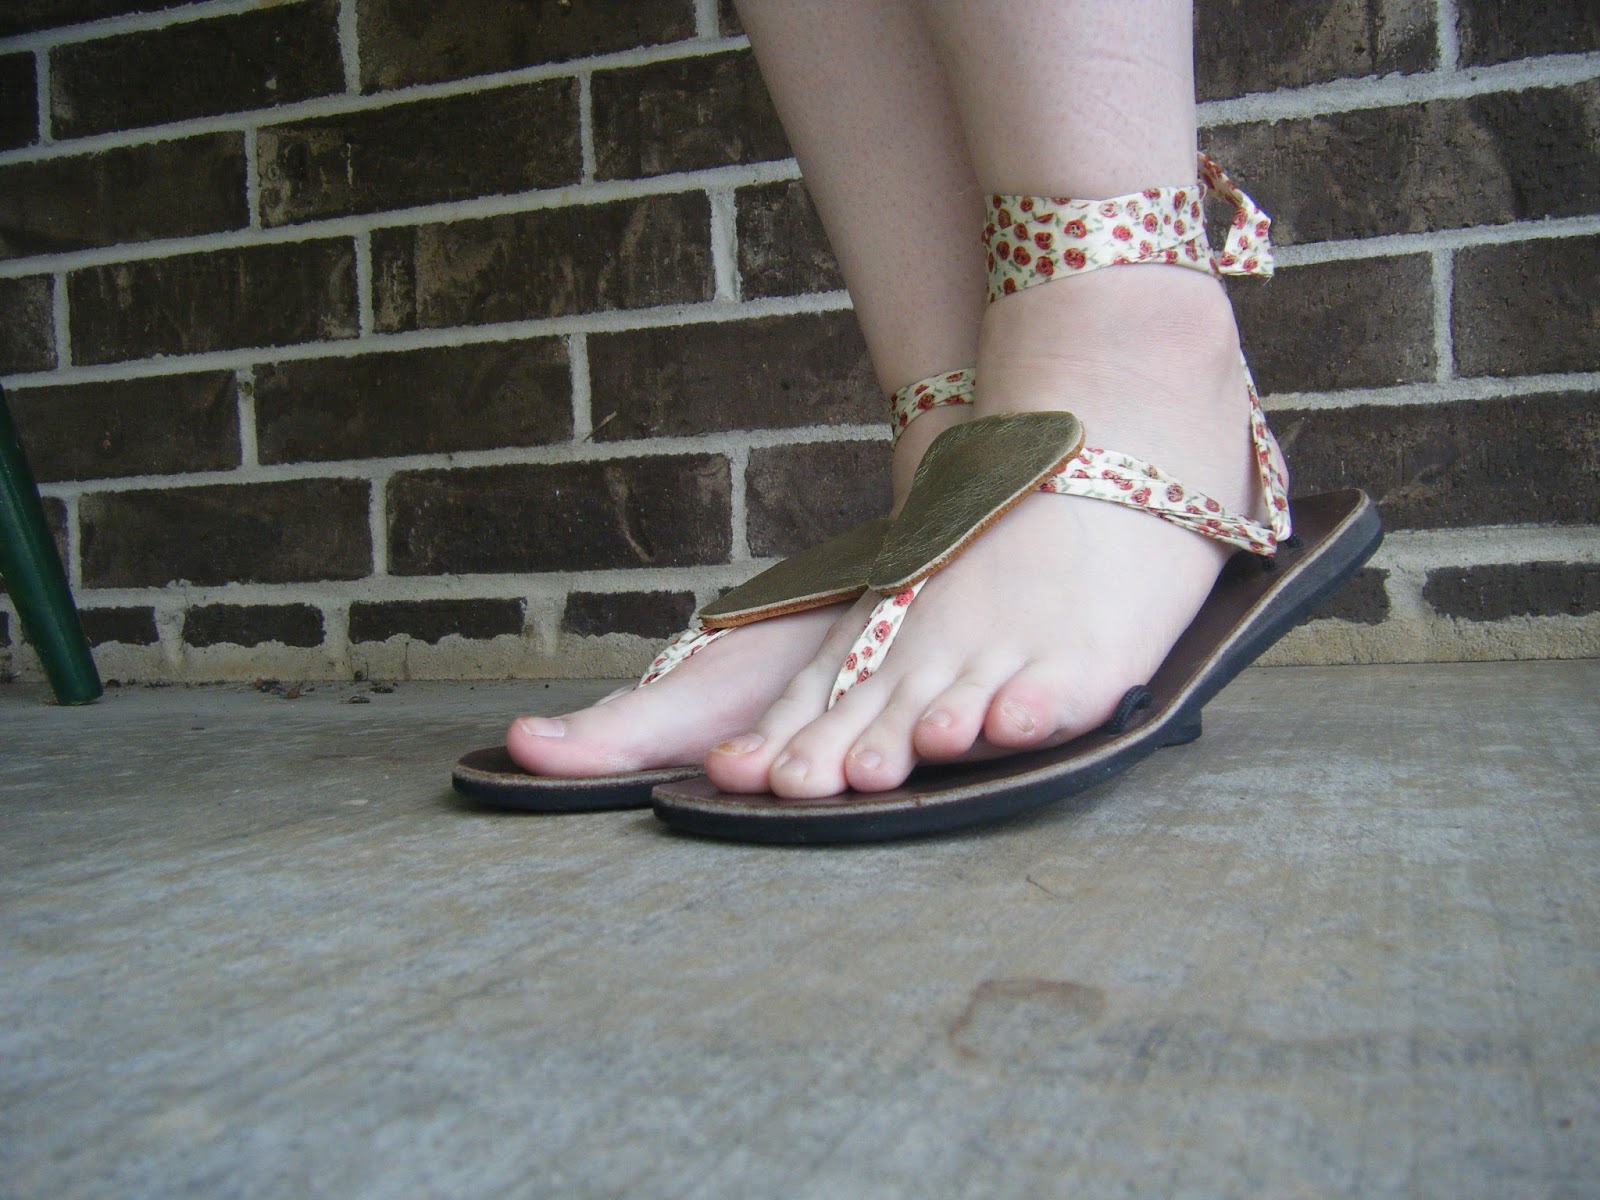
Sandals: Sseko Designs (the straps were free for becoming one of their Signature Stylists)
Grand Total: $12.25


.JPG)
.JPG)
.JPG)


.jpg)
.JPG)
.JPG)
.JPG)
.jpg)


.JPG)
.JPG)
.jpg)

This is such a great post! If I could sew, I would totally try this DIY! I keep telling myself I must learn someday.
ReplyDeleteMelissa
theblushingdreamer.blogspot.com